
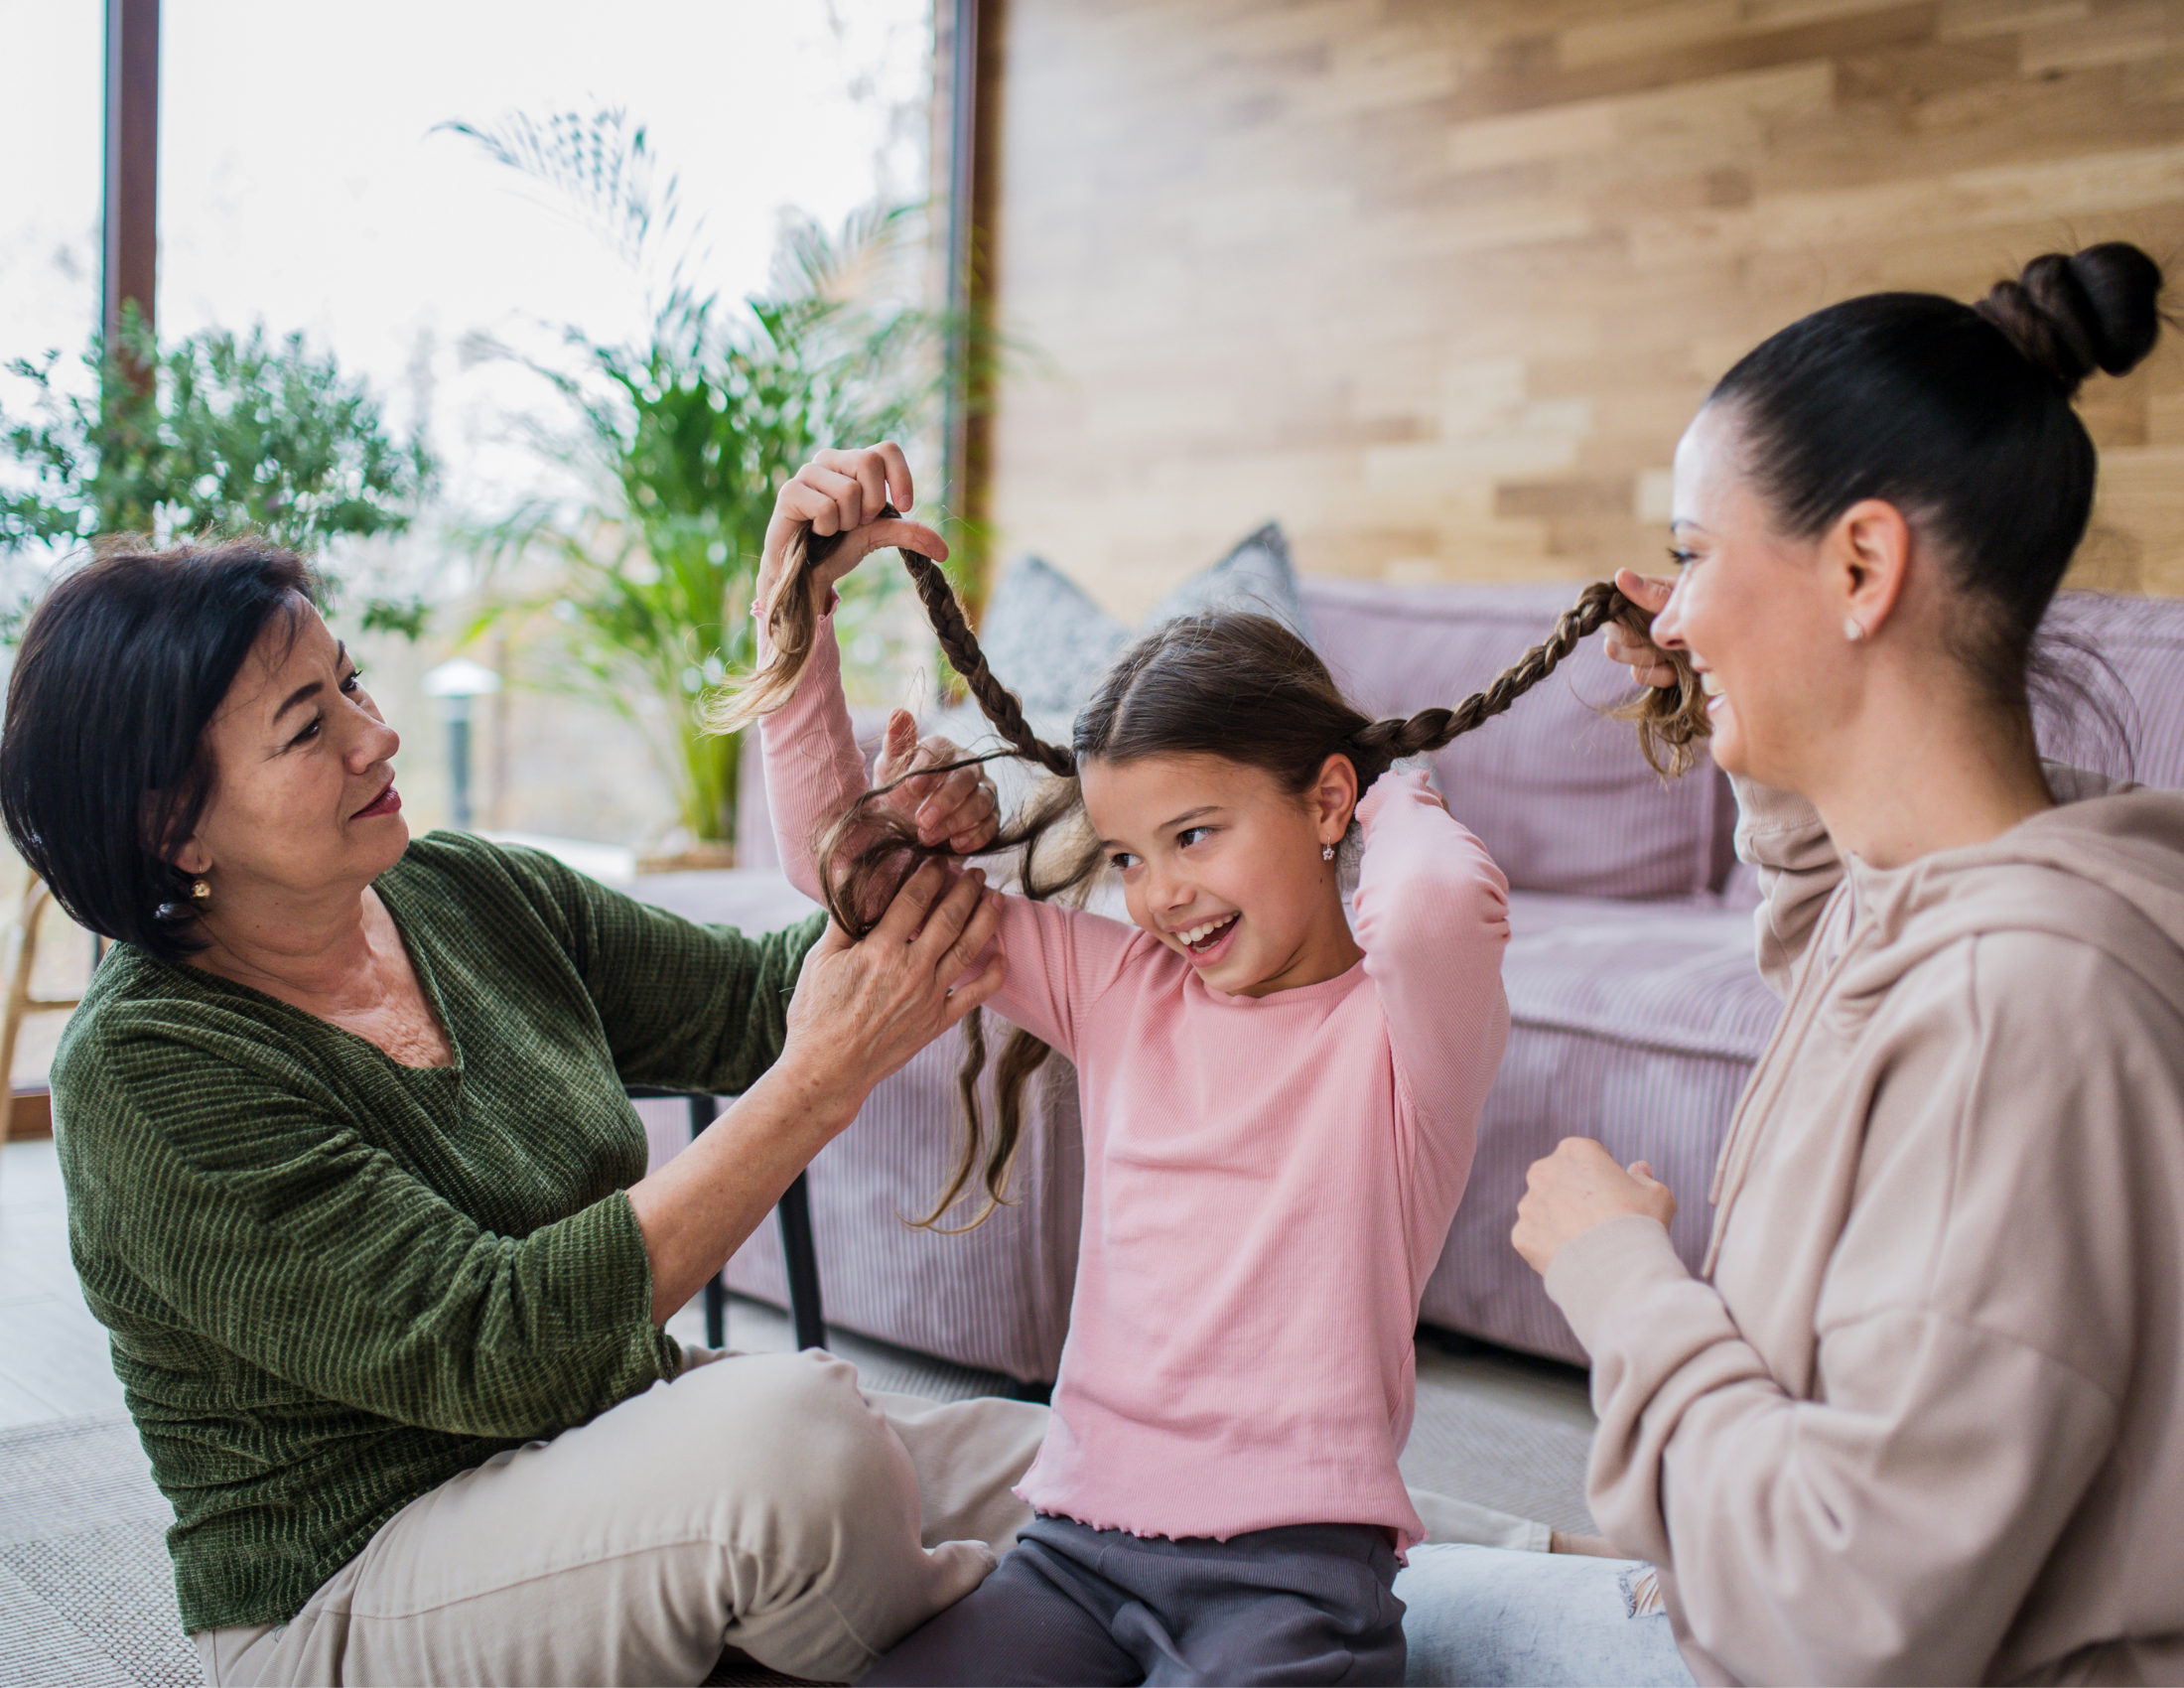
5 Simple Hair Tutorials For Children
This is an opportunity for any mummy of girls to learn some fabulous hair tips with my simple hair tutorials. My friend is somewhat of a hair goddess.
My friend must have magic hands or something because as you will see she works wonders on her girls’ hair and they look beautiful. She has kindly shared how to do some simple hair tutorials with me so you can recreate them at home in an easy (well she manages to make it look easy in her pictures) step by step guide.
Never Ending Plait Simple Hair Tutorials
For this style hair does need to be shoulder length and you need to brush out all knots in preparation for the hair styling handiwork.
Take a piece of hair from the middle and tie with an elastic band. Hair bobbles make the hair stick up too much. This part does not have to be neat as you will not be able to see it. Brush again to make sure there is no knots.
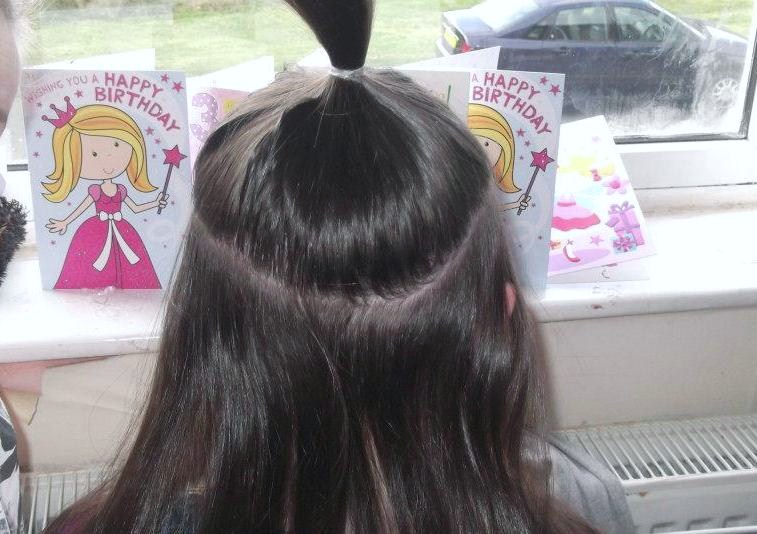
Start by doing an ordinary braid. Each time the strand crosses down toward the shoulders take a small piece from the front and add to the braid.

Each time you take a strand up take from by the neck. Continue this all around the head making sure you only take small stands
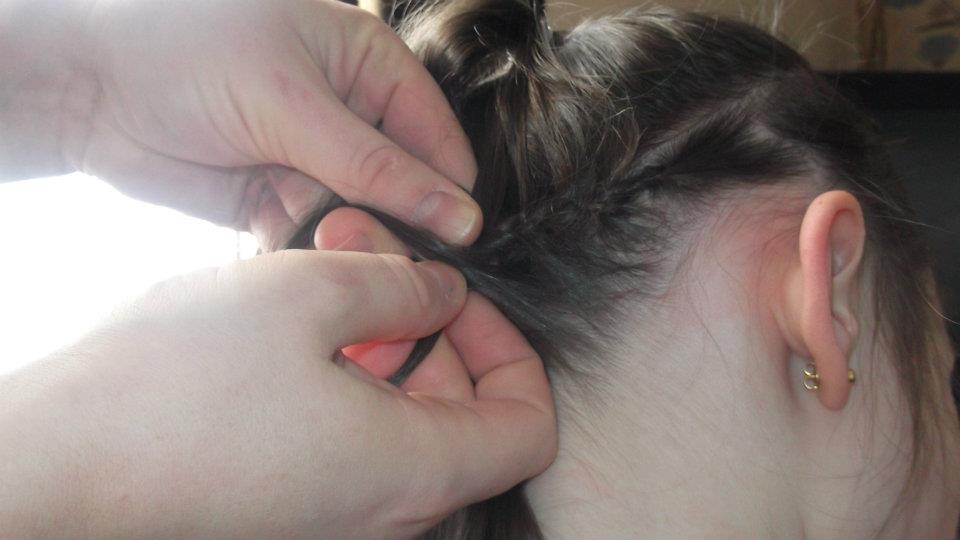
Keep going

And going

And going

Nearly there

When you come to the end tie tight using an elastic band

Take the plait and gently push through the pieces that have been pulled down

“Perfect. Hate seeing them poor kids after swimming with soaking wet backs good luck and don’t worry it will take a few goes”

Create The Perfect Bun With These Simple Hair Tutorials
Another fab hair styling post from my friend. This time how to achieve a perfect bun. Children always enjoy embracing a new hairstyle.
Plus this is a great way to keep your children’s hair up and out of the way when they are at school and still look lovely! A bun also minimizes the risk of catching nits because the hair is tucked away. Treating for nits can be a real nuisance for parents so avoiding them is always best.
First Wet hair and brush tie it a tight bobble

Use a hair doughnut. This one was 99p from Primark but you probably get them cheaper from Internet

Pull the hair threw the doughnut
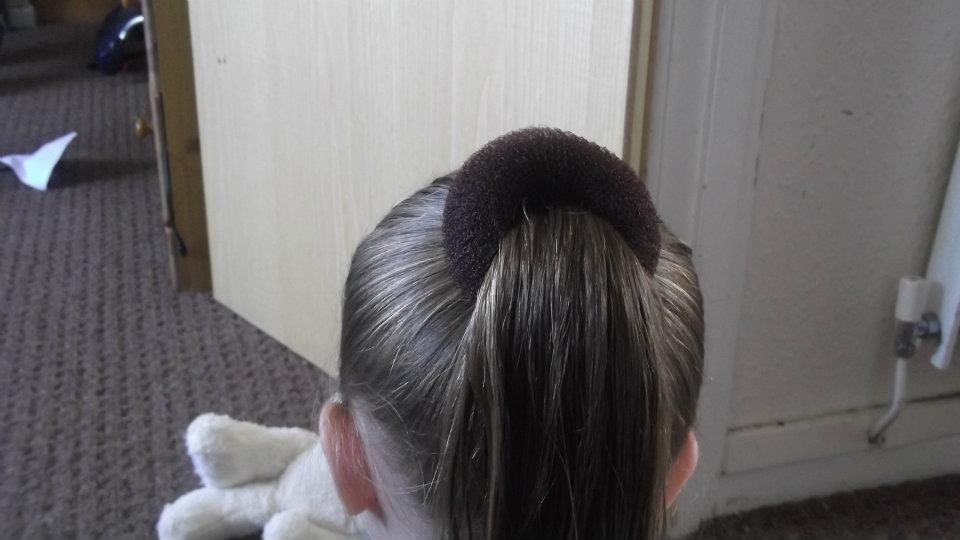
Flip the hair over the doughnut
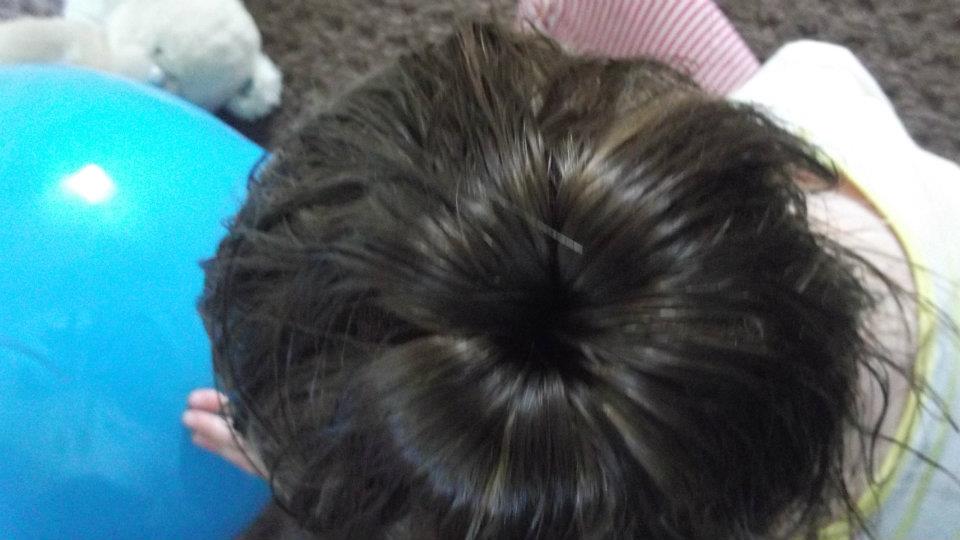
Place a small bobble or an elastic band over the doughnut
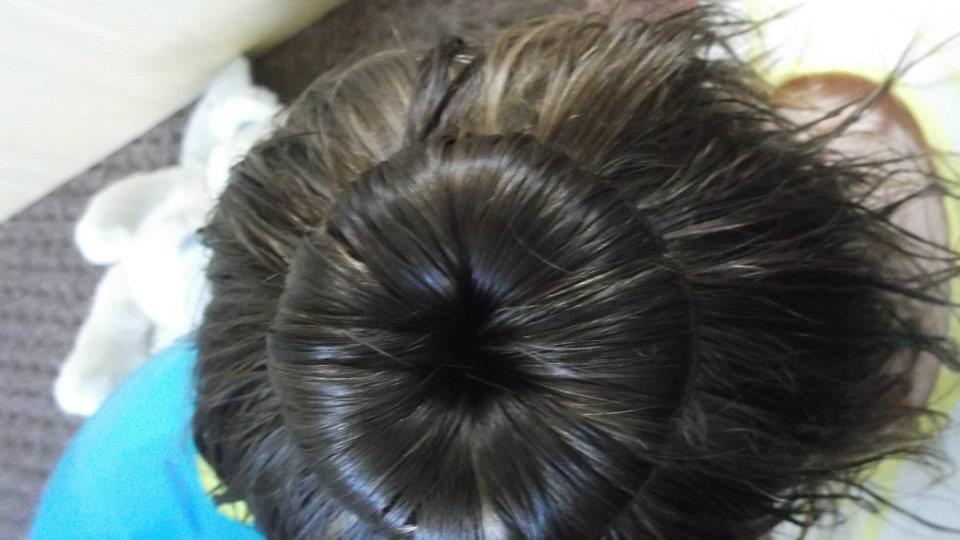
Pull the hair around down towards the neck
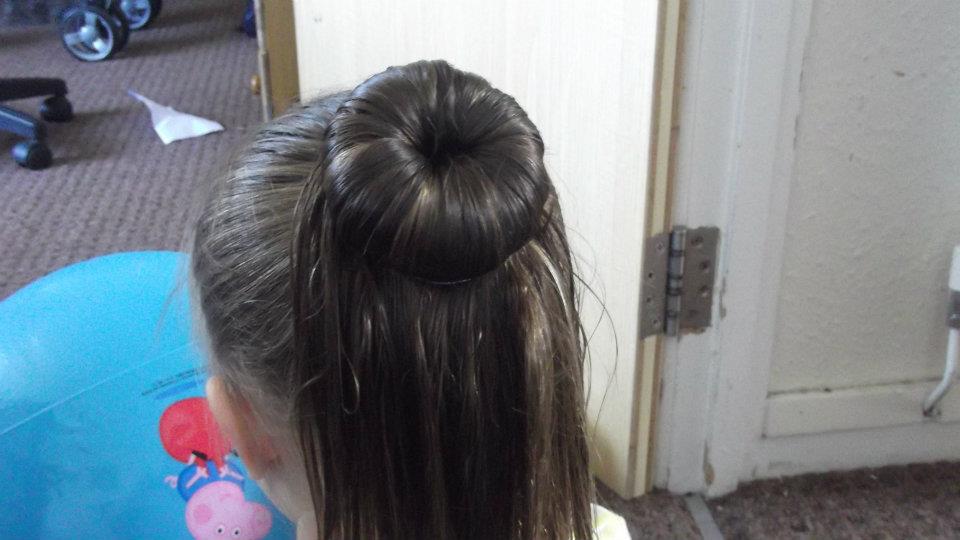
Wrap the hair around the bun and clip in using grips (plaiting the hair looks nice too)
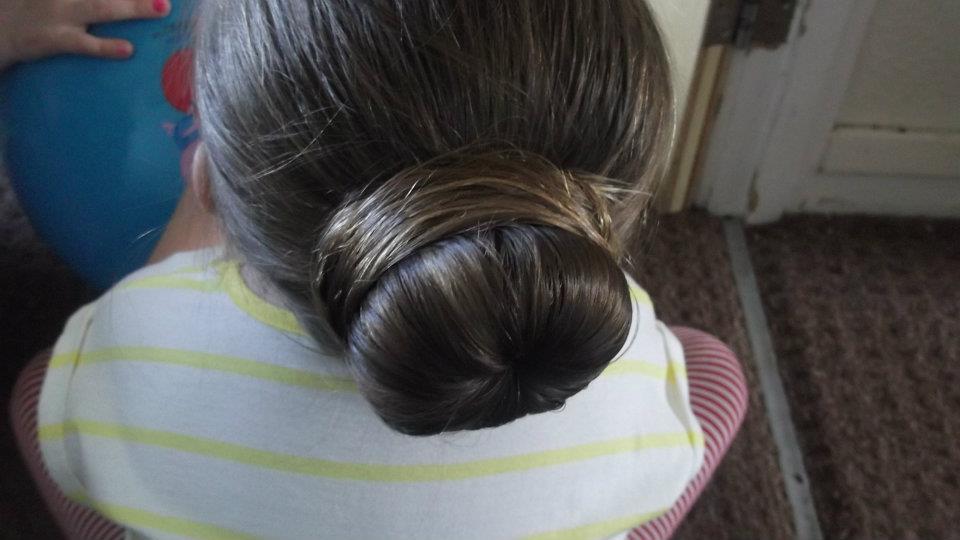
All done just cover with hairspray and admire the perfect bun.
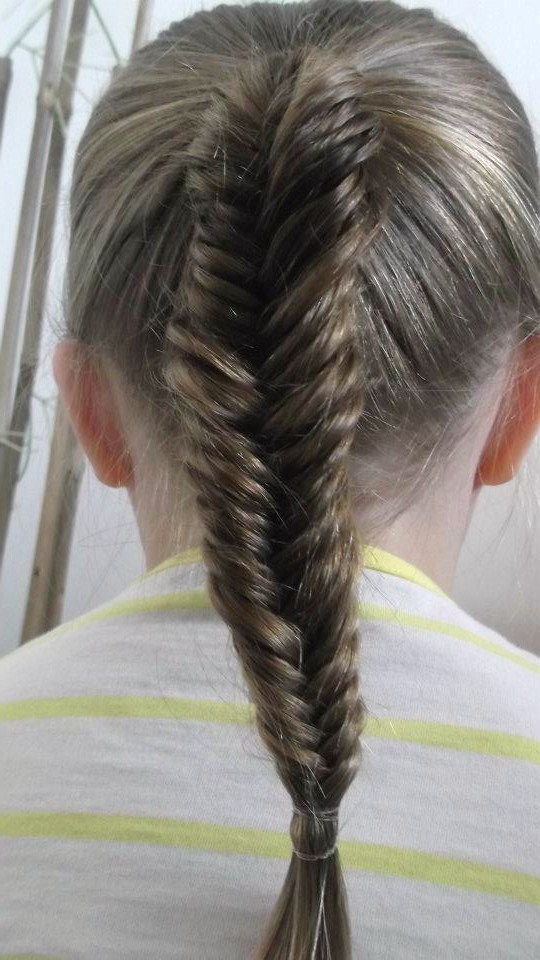
Kipper Plait
Here is another look for you to try out on your daughters! Having two boys my good friend does these styles trying to keep me girly I think! I might be a tomboy at heart. The kipper plait looks really lovely. But if your daughters like variety you can also try the heart plait. I always wondered how parents achieved such beautiful hair styles for their children, so these little tutorials help anyone as clueless as me!
For this style firstly tie hair up in a pony tail
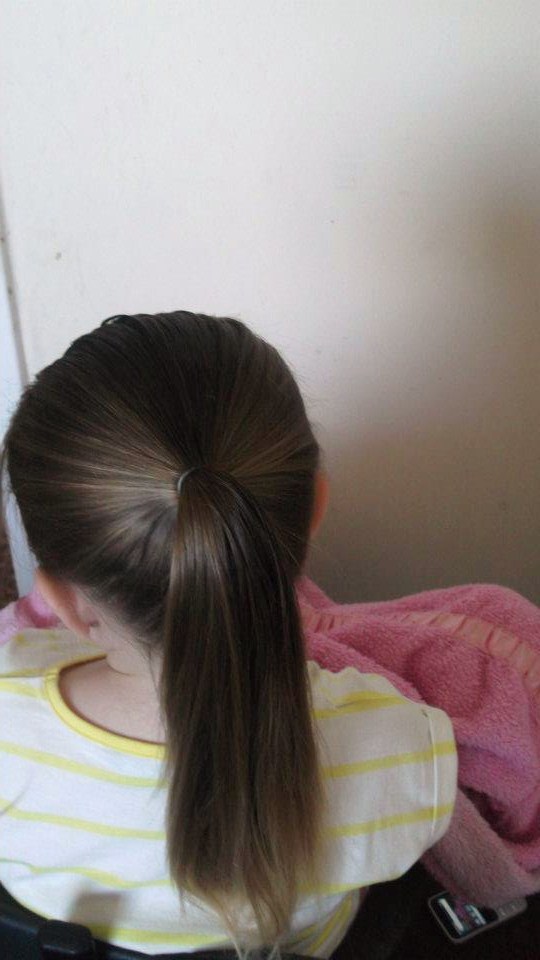
For the kipper plait you only use two strands. From under the plait take your first strand, fold it across the the other side then do the same to the other side folding it across the first strand

Just keep crossing them over
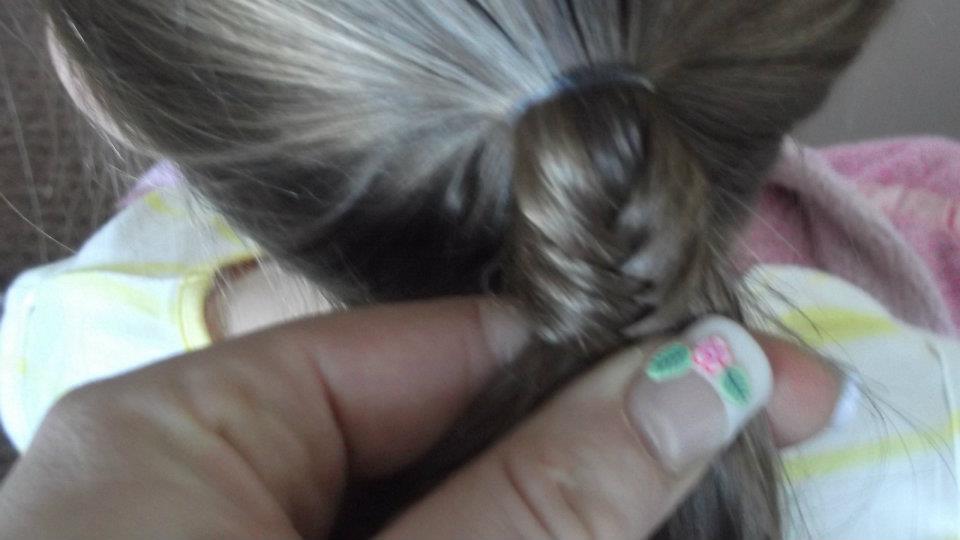
Half way down the hair you should run out of hair to fold over. But you should have two thick pieces of hair in each hand so use these pieces again from underneath fold across. its important to use thin pieces each time as it will improve the look of the kipper plait.
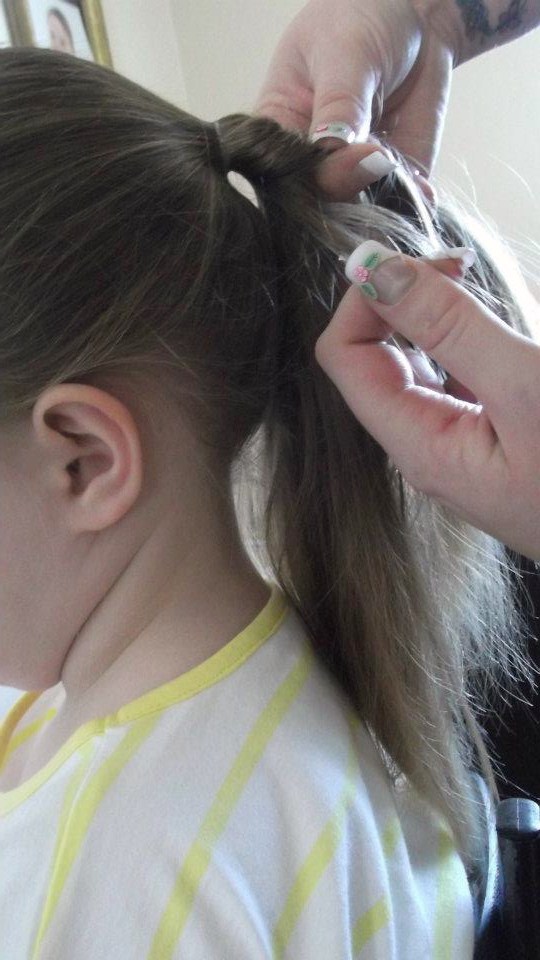
Like this
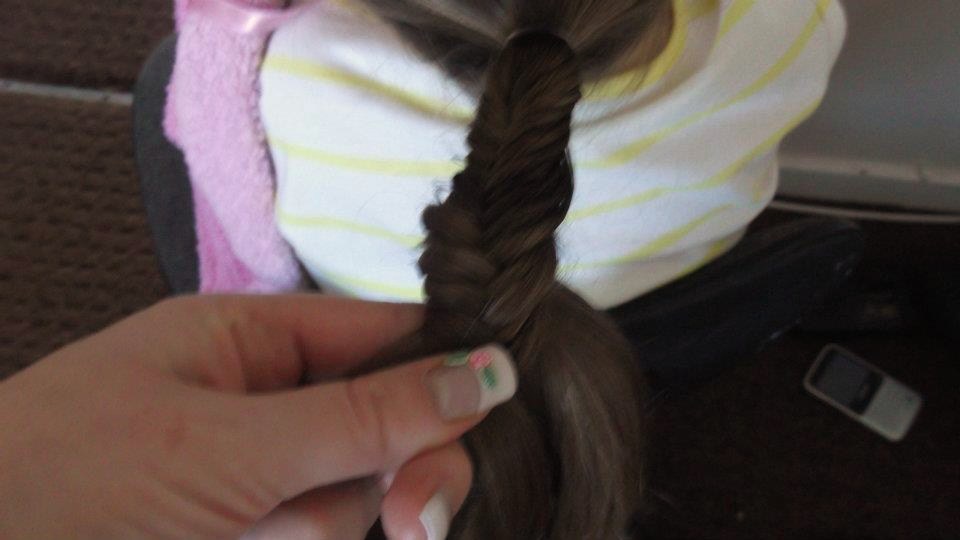
Pull out the hair to make it appear thicker
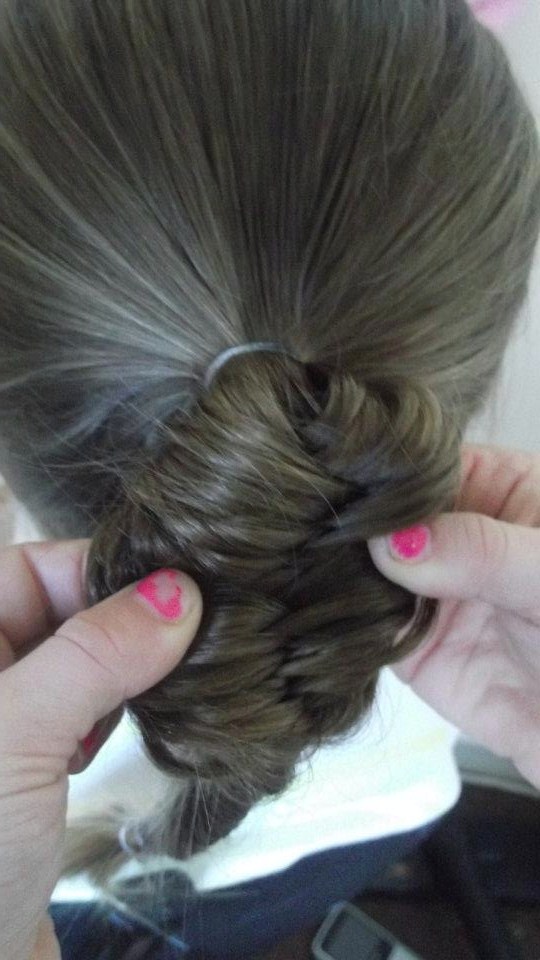
So easy my friend said that her 7 year old took over as her three year old was trying to feed the dog teabags!!! My friend always has her hands full with her youngest!
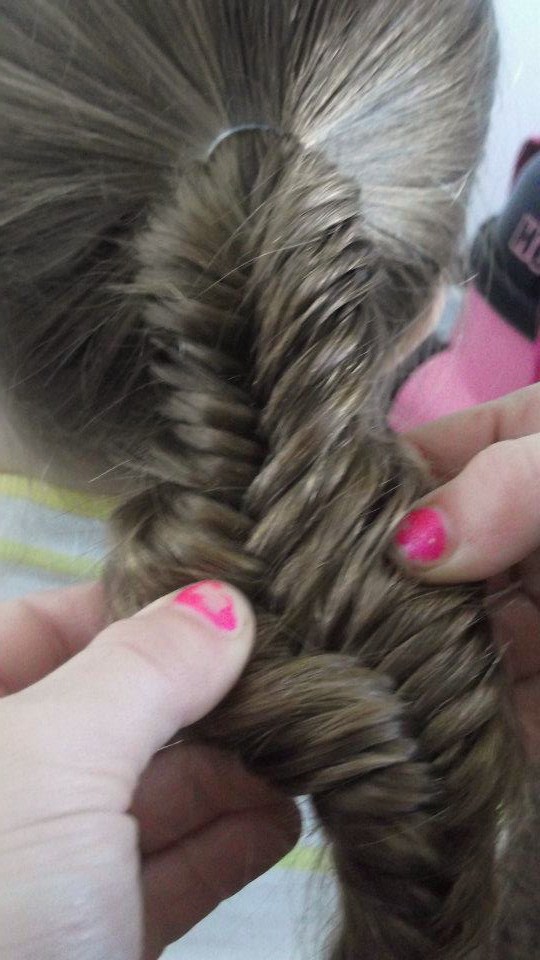
Then tie at the bottom and enjoy your new look! Who knew you could achieve something so beautiful with minimum effort!
Hair Plait
This time let me introduce you to the heart plait in my simple hair tutorials. Another pretty style your daughters will love.
I am always a fan of more chances for your girls to keep looking fabulous.
Now on to the technique!
Firstly section the hair into three parts

Start by doing an inside out braid going from the middle of the head towards the face
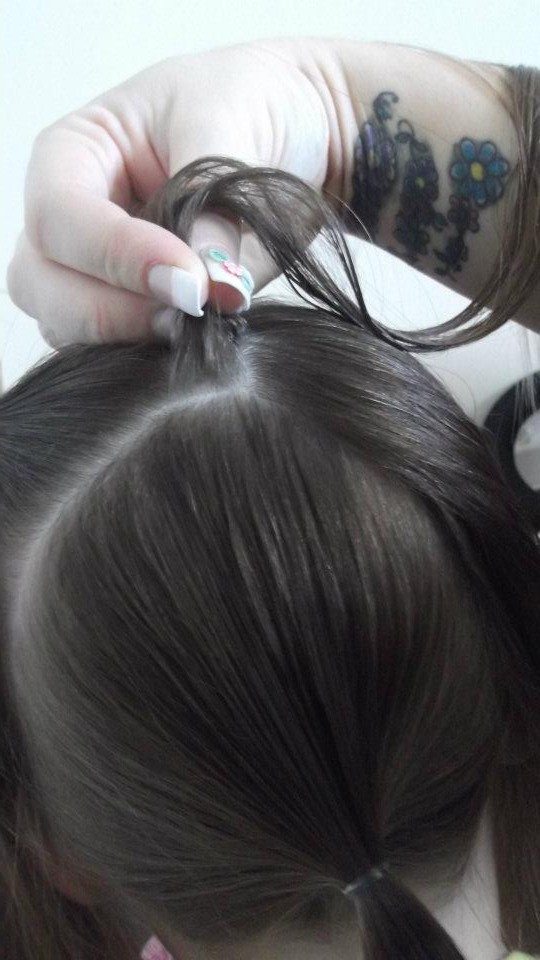
Bring the braid around the back towards the neck
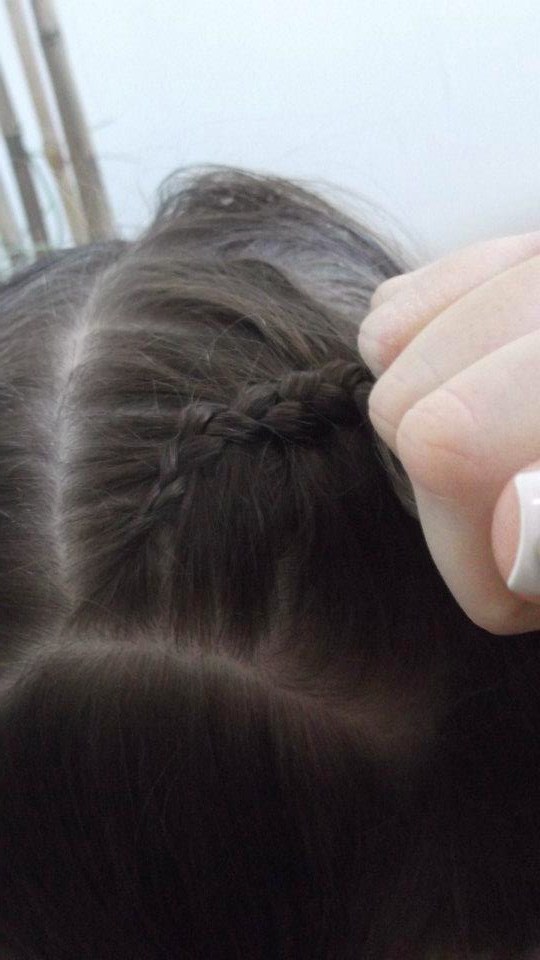
Continuing
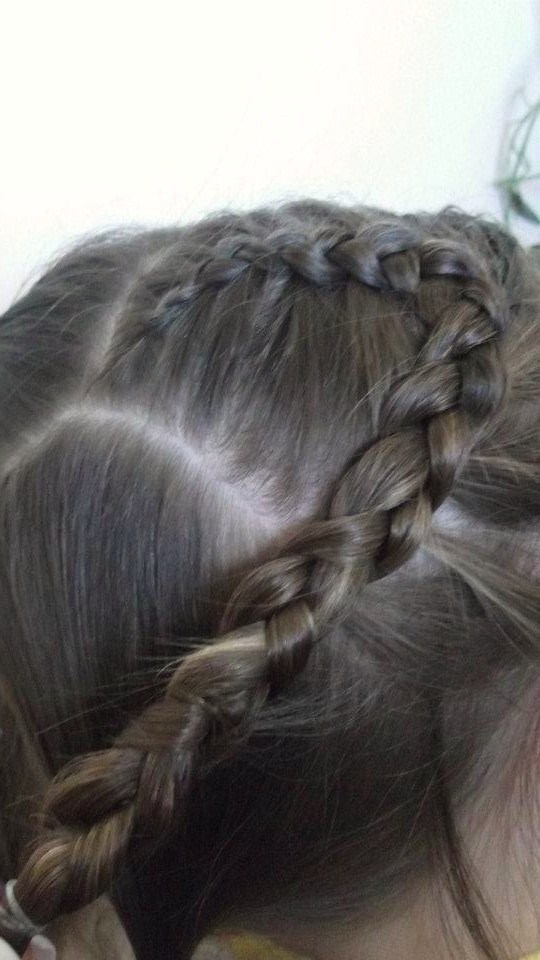
Do this on both sides and then tie together in an elastic band
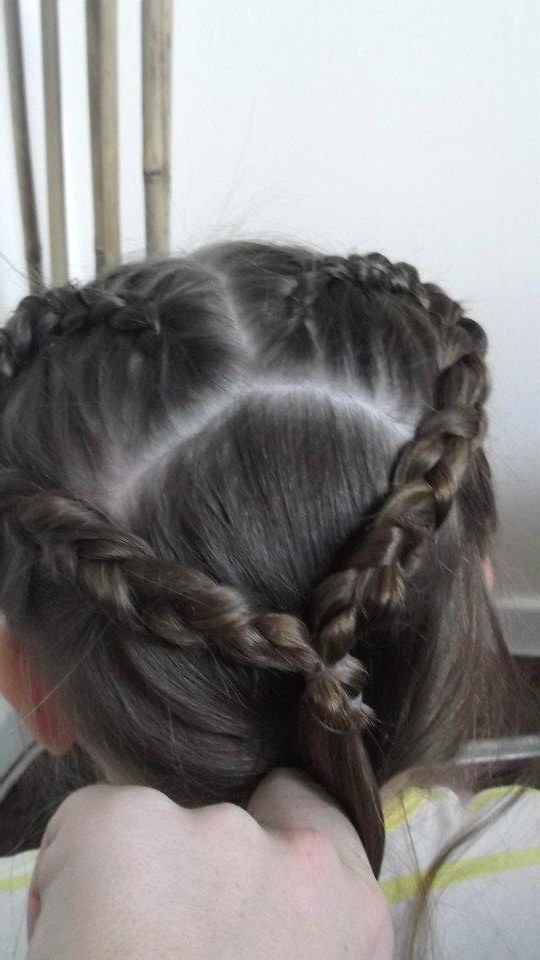
This creates a heart shape. I even quite like this hair style at this point! You could leave it here or carry on and complete it. I think adding a few pretty flowers might be nice too.
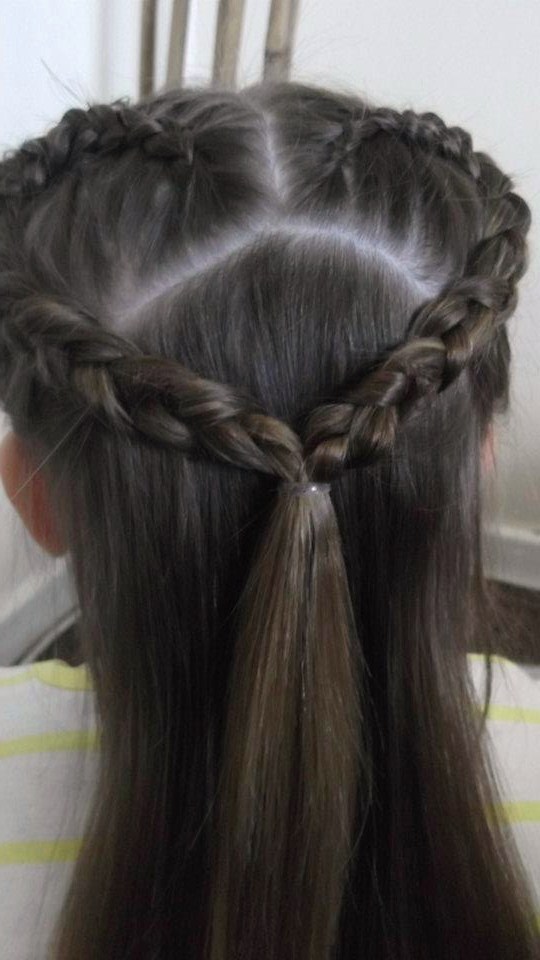
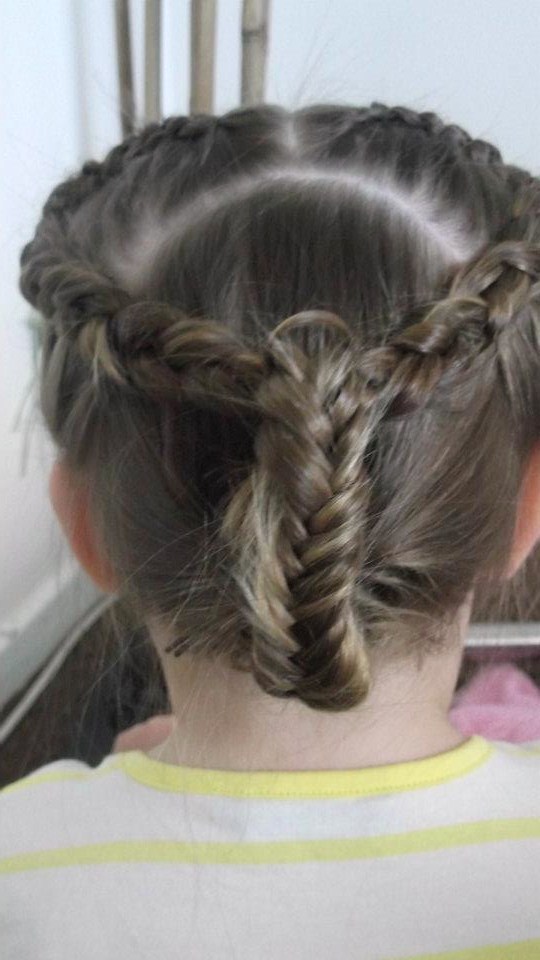
Taking the side pieces from the hair that’s left start doing a normal plait all the way down
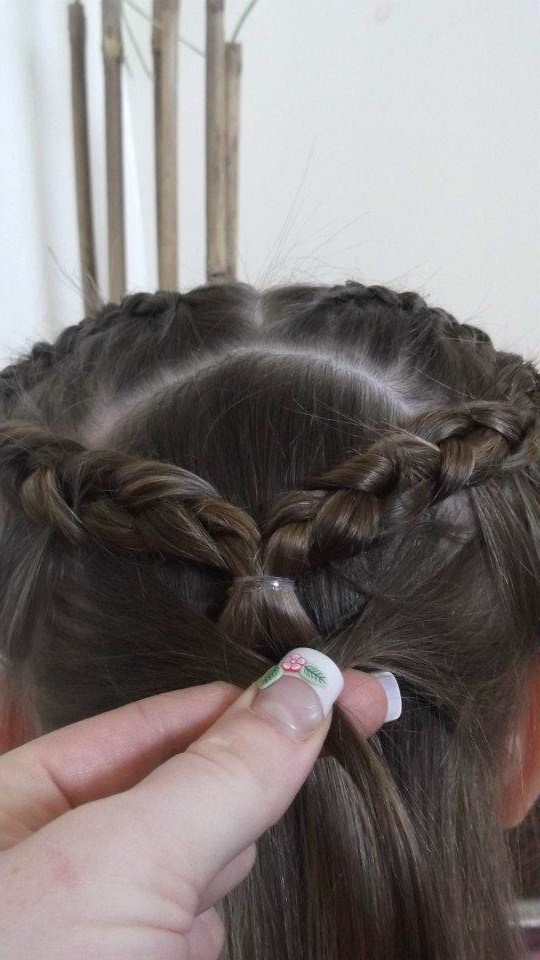
Once the heart plait is completed secure it with a bobble take it up and tuck it into the heart and secure with a clip, cover with hairspray
Unusual Twisted Plaits
Something slightly different to try for your children. This hairstyle is very popular with my friends daughters and I am sure your children will like it too.
To start off brush and wet hair
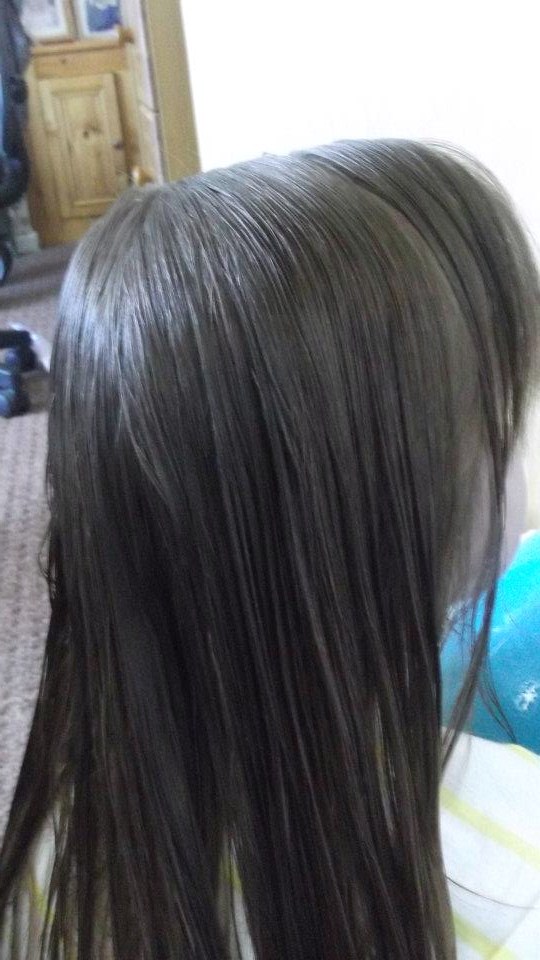
Then take a section of hair
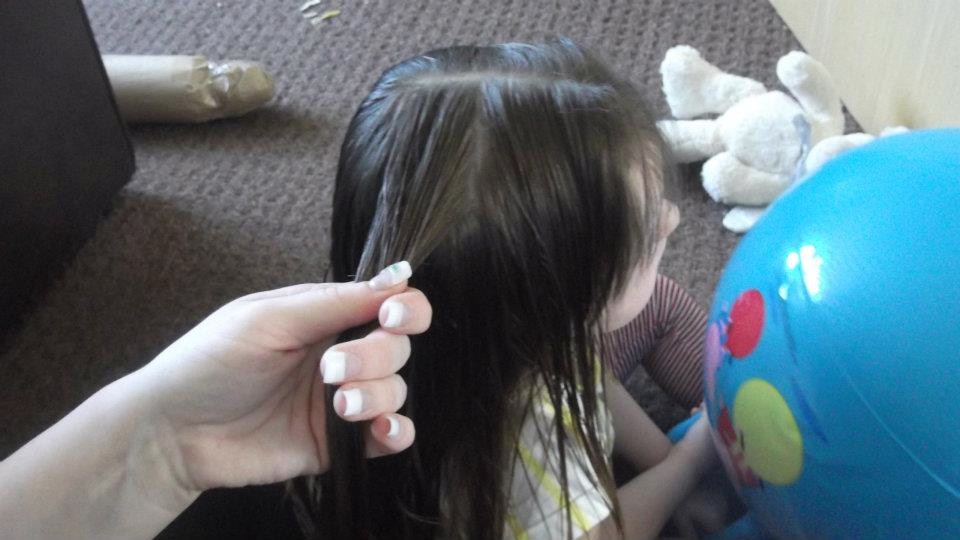
Afterwards make a loose plait
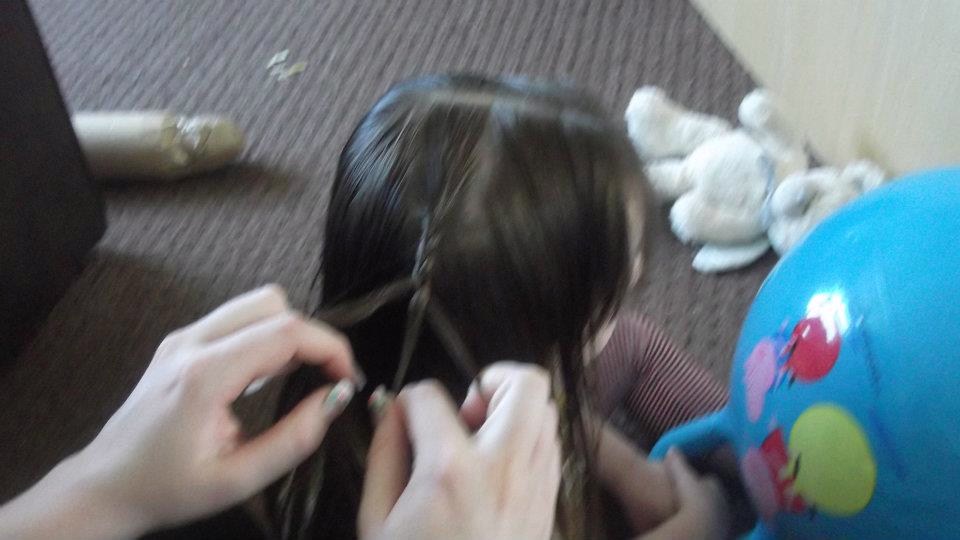
Just like this
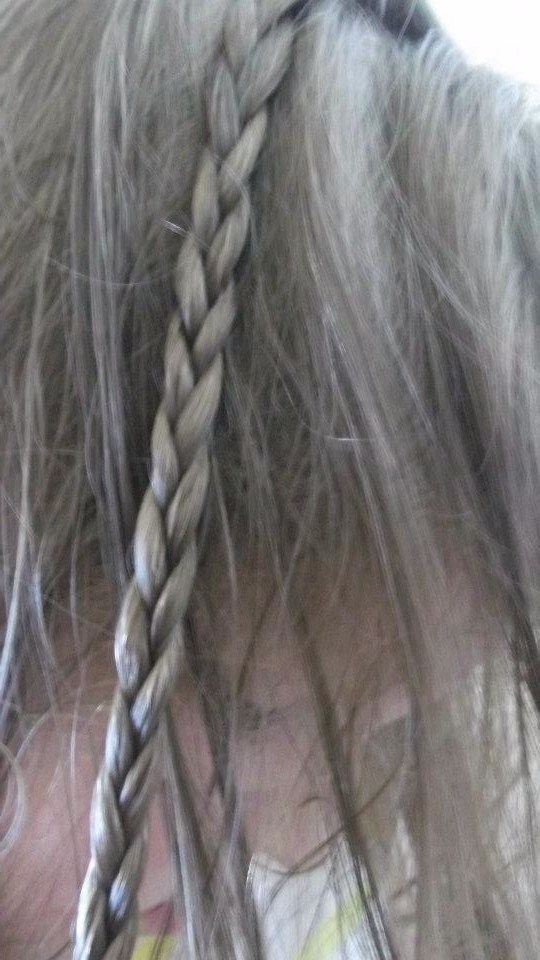
Here is the confusing part! Now it starts to get more complicated! But try and stay with me and you can master this hairstyle!
At the end of the plait hold the two outside strands with one hand and the middle with the other hand gently push up the two outside strands keeping the middle strand down. That’s right you can do it!
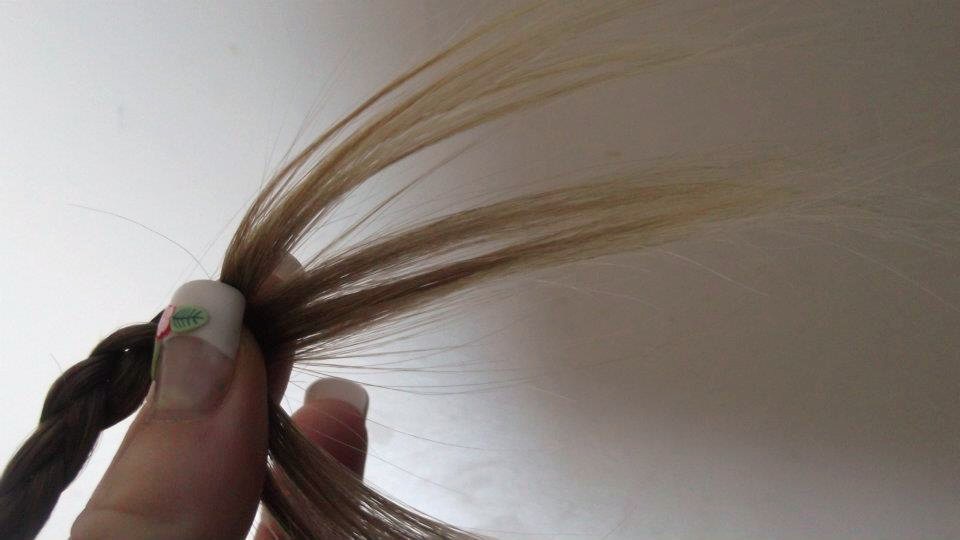
Keep doing this until you reach the top, you are almost there now.
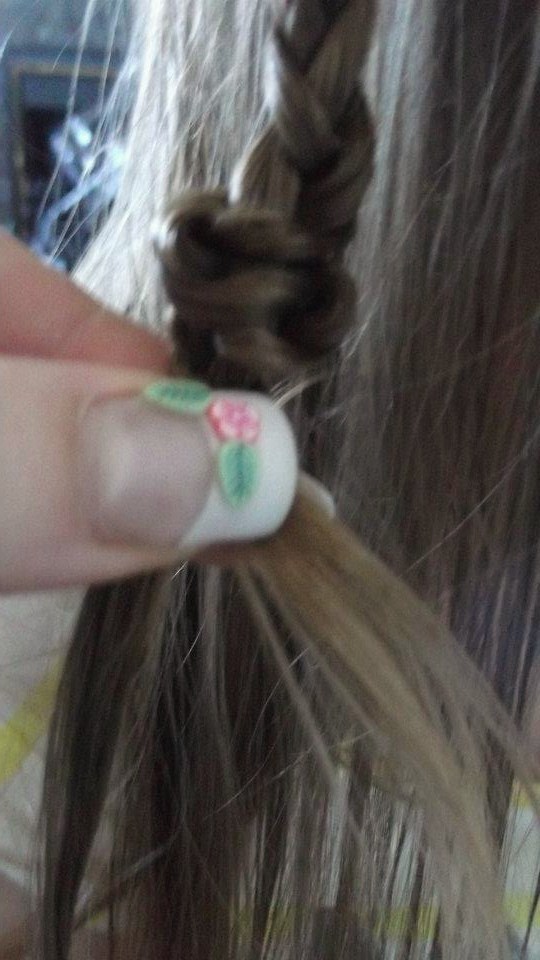
Tie at the bottom – check out my friends fancy nail in the photo!
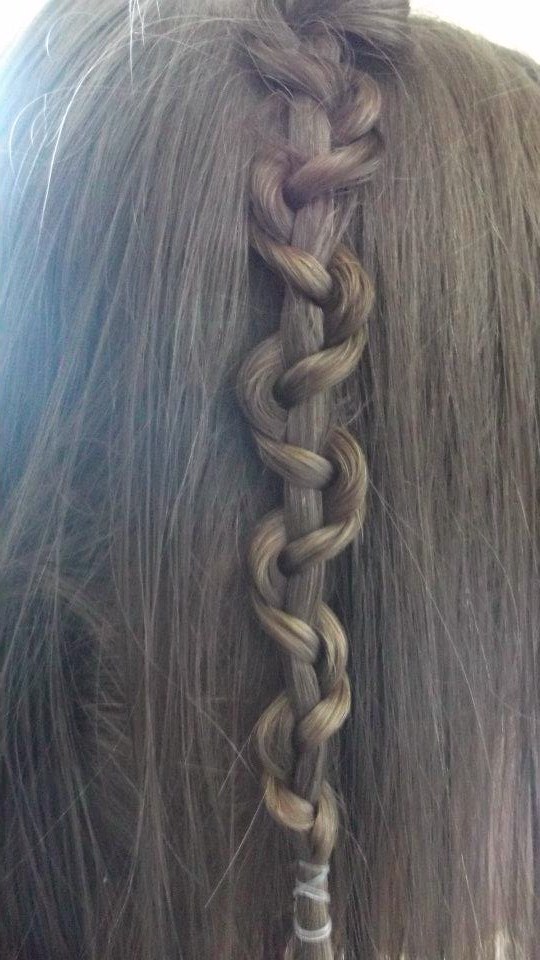
This is one of my friends daughters favourite styles and I can see why its quite unusual. Although it can be quite time consuming if you wanted lots of them.
You might like my friends other post for glamorous nails. She always make whatever she is doing sound so easy!
Hopefully now you are not lacking inspiration when it comes to your daughters hair and have enjoyed these simple hair tutorials. Which was your favourite?
You can practise it on Emily if you like 🙂