
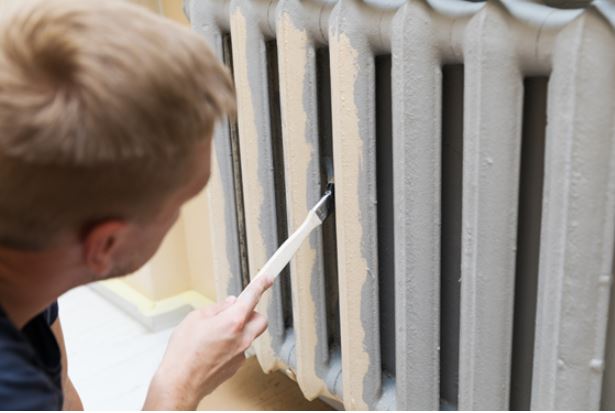
Painting Radiators: How the pros do it
Are your radiators looking a little worse for wear? While they’re a very functional part of our homes, they also make a big impact to how stylish a space can feel. Designer radiators can transform any room, turning it into an inviting and welcoming part of the house. But just because a radiator is looking a little shabby, it doesn’t mean that you have to try to hide it away behind the furniture. With a little effort, you can give your radiators a professional makeover. Read on to find out just how the pros go about painting radiators!
Get the essentials done first
As with everything in life, preparation is essential. When it comes to styling up your radiators make sure you have all the necessary kit that you’ll need, before you touch a single lick of paint.
For a professional-looking revamp of your radiators, you’ll need the cleaning equipment, protective materials and of course, the right kind of paint. However, you don’t need to spend a fortune to get the designer radiators look. Some sandpaper, washing up liquid, old cloths, and clean paint brushes are perfect to get you started. Make sure you have protective coverings to keep furniture paint-free while you’re working. Always use a face mask and goggles to keep yourself safe.
Start by prepping the radiator
To make it as easy as possible, it’s a good idea to remove the radiator away from the wall, if you can. However if this isn’t do-able, you’ll still manage to achieve a great paint job.
Make sure the radiator is cold to touch before you start. Then prepare it for painting by cleaning it down with soapy water and a cloth, getting rid of all the accumulated dust and grime. Once it’s clean and dry, sand down any areas of rust or old paint, to provide the right surface to add fresh paint to. Before you start with the new colour, clean away any last specks of dust and dirt.
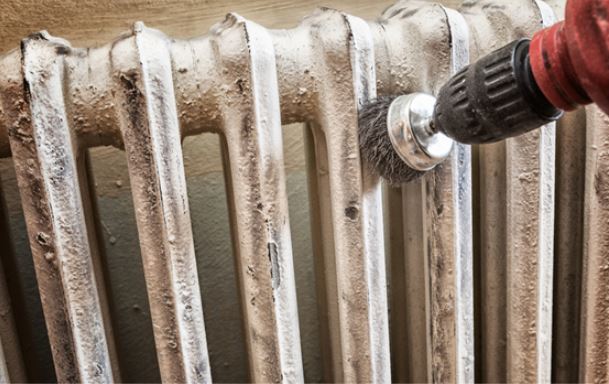
Prime and paint
Before you start adding the stunning new colour you have planned, you’ll first need to use a good quality primer. This will protect any bare metal surfaces of the radiator, and also ensure a lasting result with the paint. Allow the primer to dry completely before going on to the next stage, and as always, give it a clean to remove any dust that’s gathered.
Lastly, you can add the top coat. Radiator-specific paints or spray paints are ideal, as they are designed to withstand the heat, but solvent based paints are also a good choice. It’s important to allow plenty of ventilation when you’re doing this last part, as the fumes can get very strong. If you’re using a brush, work from the top and bottom, to avoid any unsightly drip marks. Finish off with a second coat, but allow at least 24 hours in between to let it dry completely first.
You might also enjoy reading my post titled radiator covers good or bad?