

Cleaning Your Vinyl Tile Flooring
Cleaning the house is one of those chores that some of us thrive in doing and the rest of us….well, we put it off until the last possible moment hoping that it’s going to be a quick and easy job when we get around to it. Now of course, the longer you leave it, the dirtier things get and then the longer it takes to clean!
What if we told you that one task, in particular, is quick and easy and sees the item you have cleaned still looking great for a long time to come?
We are talking about one of the most popular flooring types seen in homes throughout the UK, Luxury Vinyl Tiling. Used for bathrooms, living rooms, kitchens, and bedrooms, LVT flooring is something that endures constant footfall, regular spillages and occasional scuffs so how do we get it clean so that it looks good all the time?
How to clean LVT flooring
Luxury Vinyl Tiling is built to last and provide you with a surface that not only looks good all year round but is easy to maintain when it does get a little dirty.
The following steps will ensure that your LVT floor, no matter what room it is in, will remain looking good no matter what you throw at it! Perhaps this simple cleaning regimen will have you considering switching your current floor to an LVT product too!
After the floor has been laid
If you already have LVT flooring in place, then skip this step! If you are considering an LVT floor then make sure you read this section to keep your floor looking great from the off!
Firstly, leave it 24 hours before doing anything! This allows the adhesive to set and keep your vinyl tile flooring in position. During this time, don’t put any furniture back on the surface or give it any kind of cleaning.
You may notice some adhesive left on the tiles, but you can use a special stripper from Amtico to remove those.
Once 24 hours have passed, start putting your furniture back in place, but rather than drag it into position, carry it. You should also consider soft pads on the feet of tables or chairs to further reduce the impact of them on the LVT floor.
If you have particularly heavy items, think about using castor cups to make sure the load is spread more easily. Whilst moving these items also think about how you will protect the floor. Use sheets or hardboard to help you get the items moved across the floor.
Now your room is set with its new floor, you will be able to start using it but remember, the reason we are here is to get tips on how to clean it once you start using it, so let’s dive in!
Regular cleaning of an LVT floor
Depending on what room you have LVT flooring in will largely determine how frequently you do specific cleaning but as a general rule, consider a sweep every other day, especially in the areas of higher use.
Then aim to mop it once a week. Do this with just a damp mop rather than one that is totally soaking. Specific floor maintainer products made for LVT flooring are available and will indicate how you should dilute.
Then allow it to dry naturally. And that is pretty much it! Unless of course, you get particularly stubborn stains or marks. Then you may need to use a product that acts a little tougher on the floor.
Spot cleaning an LVT floor
Sometimes your floor just needs a quick bit of TLC to bring it back to its best. Should you spot a spillage, clean it immediately, LVT manufacturers Amtico have a spillage cleaner that helps avoid the spill turning into a slip hazard. This same product can be used for scuffs and abrasions too.
If you opt to use any type of furniture polish, be careful. The substances within these products can make vinyl flooring very slippery if not used correctly.
Deep cleaning of an LVT floor
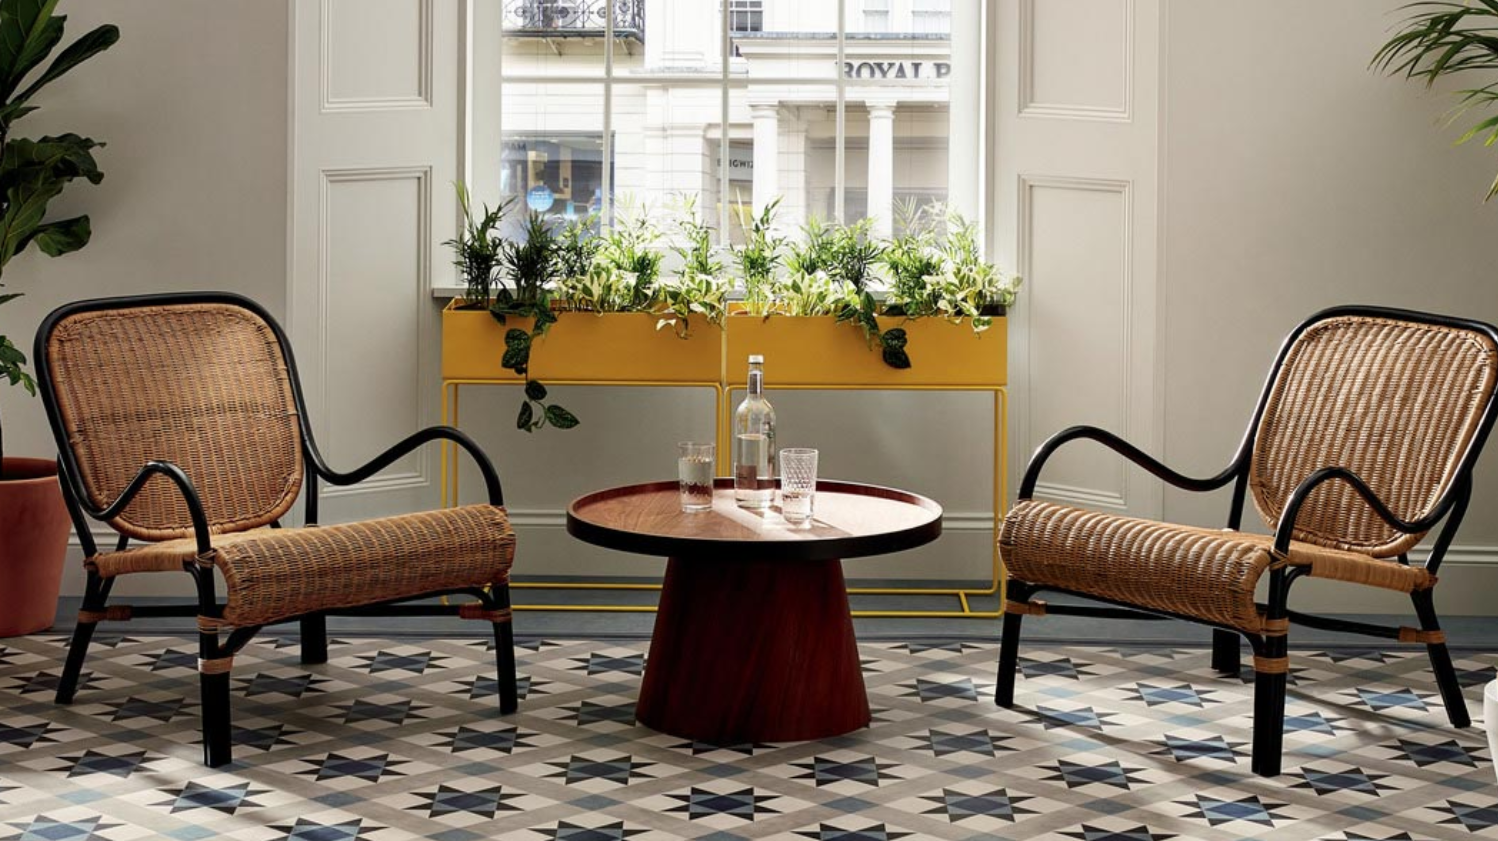
Should you have left it a while since you swept and mopped the floor, or if it has endured a rather heavy and dirty footfall, there is every chance it needs just a little more elbow grease to get it looking amazing again. The good thing is, LVT flooring, no matter how dirty, doesn’t take much effort to get clean at all. So even when the kids run in from a muddy garden, or the dog decides to shake himself dry across the kitchen floor, you can feel confident that you can have the floor back to pristine condition within just 15-20mins. Probably even less!
Simply use the stripper solution for LVT floors and mop the floor liberally. Let it stand for ten minutes so the cleaning product can really get to work. Then using your mop or a soft brush, scrub the floor a little more. Once done clean off the solution with clean water and allow it to dry. Your floor will soon look brand new!
Handy tips for cleaning an LVT floor
The simple cleaning tips above will keep your Luxury Vinyl Tiling floor clean but there are a few tips that highlight some don’ts as well as do’s.
If you have an Amtico LVT floor, Use their cleaning products on the surface. The premium materials in the floor can be damaged by using products not made specifically for them.
Clean spillages as soon as you spot them, its always best to deal with jobs as they arise. Use absorbent cloths or paper towels and the spillage remover product.
Use mats at entrances and exits to prevent unnecessary dirt from being transported onto the floor.
Hardened substances should be removed with a blunt scraper before mopping.
Never use a steam cleaner on an LVT floor.
If you opt to vacuum the floor, sweep it first ensuring nothing sharp is in contact with the floor. Items such as this could get caught in the vacuum cleaner and scratch the floor.
Avoid using rubber mats or furniture bases.
And that is all you will need to do to clean an LVT floor. No hard work, no expensive equipment, just a few simple steps. This is perhaps why many people are looking at LVT flooring for playroom flooring, bathroom flooring, kitchen flooring and more!